Best Raids in ARC Raiders: Dam, Spaceport, Buried City Explained

Raid experiences in ARC Raiders define the entire gameplay loop. Each successful extraction generates resources that improve your gear, unlock new equipment, and increase your survival chances during subsequent missions. The three primary raid locations — Dam, Spaceport, and Buried City — offer distinctly different challenges, loot tables, and risk profiles. Understanding these differences determines whether you extract with valuable cargo or lose everything to hostile machines or enemy players. This guide breaks down each map so you can choose the right location for your objectives.
Why Raids Are the Core of ARC Raiders
Raids constitute the primary content cycle in ARC Raiders. Every raid combines environmental exploration, machine combat, player encounters, and tactical extraction into a single high-stakes session. Resources collected during raids fund your character progression, weapon upgrades, and consumable stockpiles. Death during a raid results in the loss of all unsecured loot, which creates meaningful tension and forces careful decision-making. The risk-reward balance changes based on which raid location you select. Understanding this system is essential because your raid performance directly dictates how quickly you can access harder content and better equipment.
How Raid Difficulty Changes Your Experience
Raid difficulty in ARC Raiders is not solely determined by enemy strength. The map layout, density of points of interest, typical player traffic, and environmental hazards all contribute to the actual challenge level. Dam Battlegrounds functions as the entry-level raid with moderate machine spawns and manageable sightlines. Spaceport escalates difficulty through larger open areas with minimal cover and increased player encounters. Buried City represents the highest difficulty tier due to its confined spaces, vertical combat zones, and high-value loot that attracts experienced players. Novice raiders should avoid immediately entering Buried City without first learning survival fundamentals on Dam Battlegrounds.
ARC Raiders Dam Battlegrounds
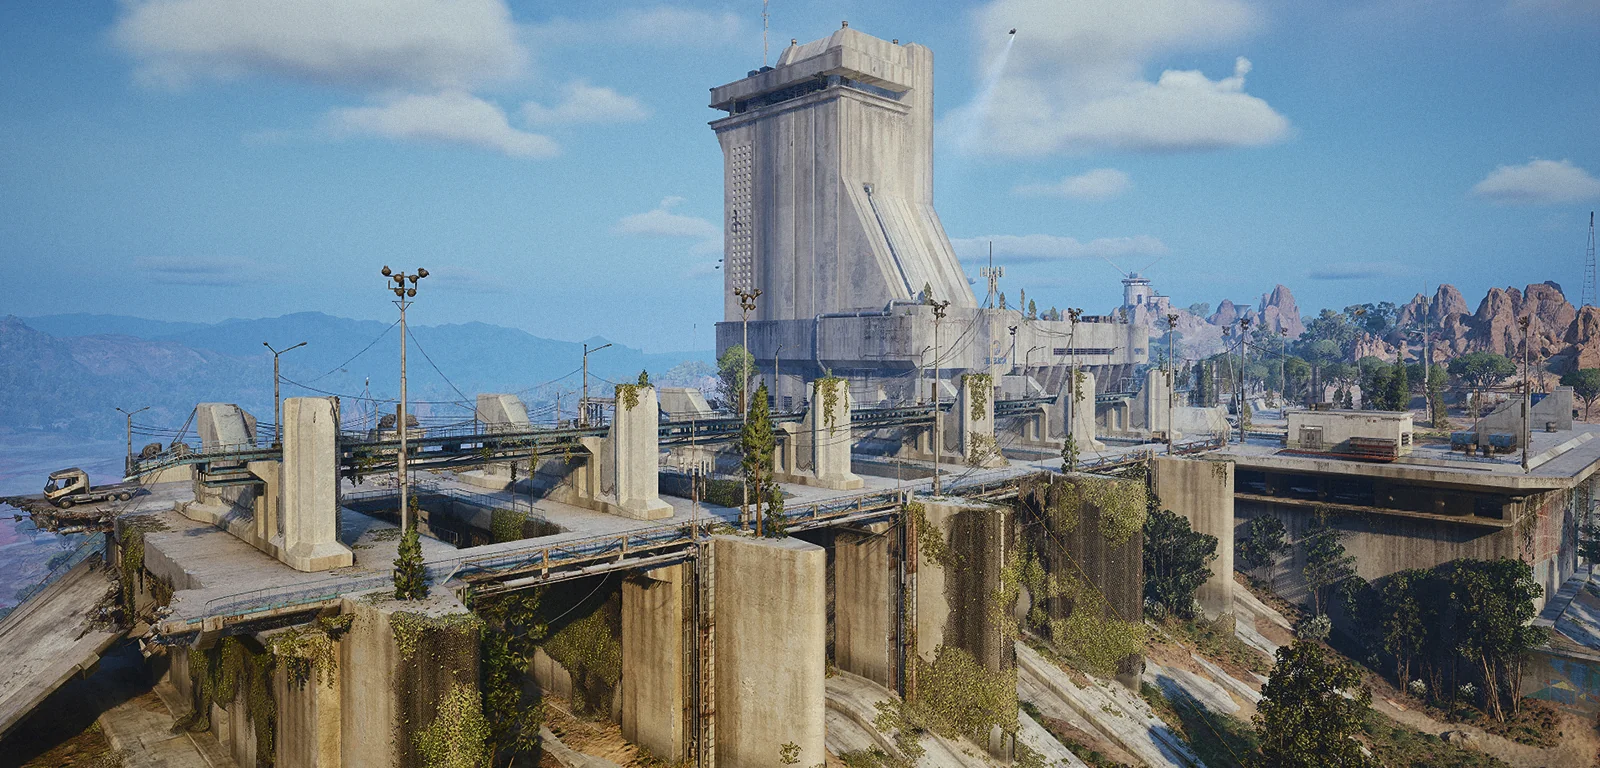
Dam Battlegrounds is the most versatile raid location in ARC Raiders. The map features a mix of open water areas, industrial structures, and elevated platforms that provide multiple approach angles to every objective. Loot spawns are abundant and spread across the map, reducing the likelihood of immediate player conflicts. Common loot includes weapon attachments, tier 1 armor components, and basic crafting materials. Rare spawns occasionally appear inside the dam control rooms and underground maintenance tunnels, offering tier 2 equipment. Dam Battlegrounds suits solo players who prefer controlled engagements and extraction-focused runs. Many experienced raiders use this map to farm consistent resources before attempting higher-risk locations. Community statistics indicate that Dam Battlegrounds has the highest extraction rate among all raid maps at approximately 68 percent.
ARC Raiders Spaceport
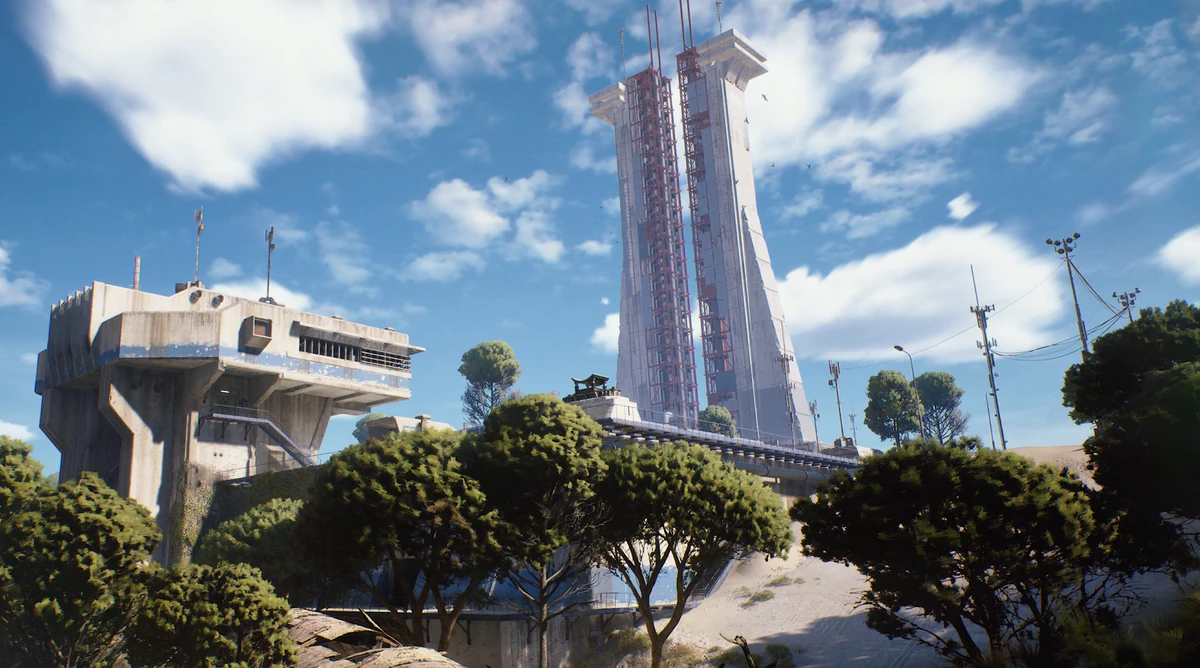
Spaceport presents a high-risk, high-reward environment centered around industrial launch facilities and landing pads. The map contains large open plazas with minimal natural cover, requiring constant awareness of sightlines. Technology-related loot spawns frequently here, including advanced weapon mods, energy cells, and rare data cores used for high-tier crafting recipes. Player encounters occur at a higher frequency compared to Dam Battlegrounds because the loot quality attracts more aggressive raiders. Successful extraction from Spaceport often yields enough high-value components to fund multiple upgrades. Experienced raiders favor Spaceport for its concentrated reward density, but they recommend bringing a suppressed weapon and maintaining situational awareness at all times. The extraction rate for Spaceport averages around 45 percent due to increased combat frequency.
ARC Raiders Buried City
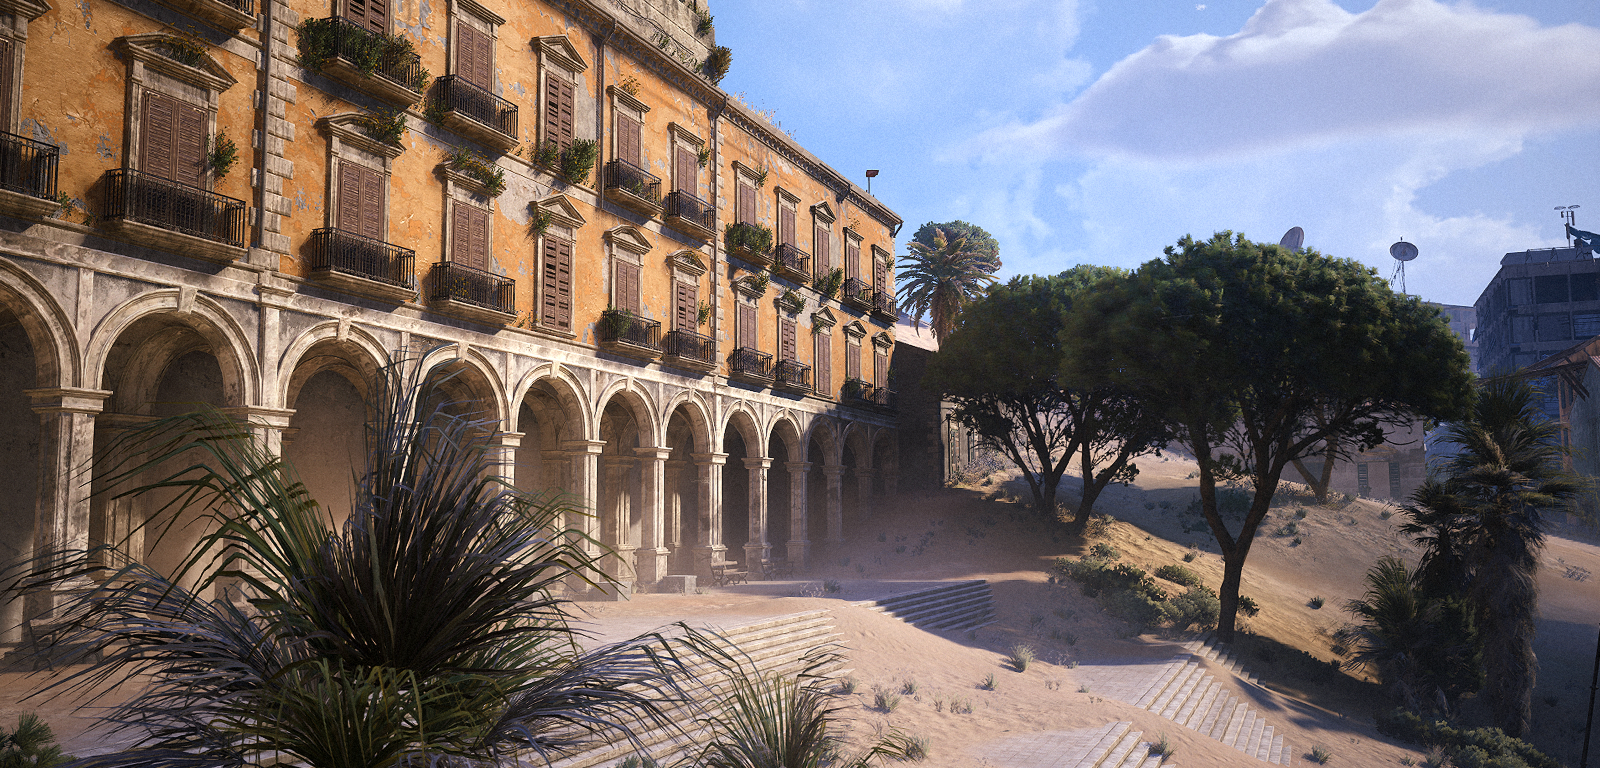
Buried City is the most intense raid location in ARC Raiders. The map consists of collapsed urban structures, underground tunnels, and multi-story buildings that force close-quarters combat. Line of sight is extremely limited, and ambushes are common at lootable containers located inside rooms. Vertical gameplay is a defining feature — raiders can enter through roof access points, windows, or underground passages, creating unpredictable engagement scenarios. Loot quality is consistently high, with tier 3 equipment, legendary weapon blueprints, and cosmetic items exclusive to this map. However, the risk level is equally elevated. Player traffic is highest here, and experienced raiders know every flanking route. Buried City extraction rates fall below 30 percent, making it unsuitable for players who do not have full gear and consumables. Approach this map only when you are prepared to lose your loadout.
Which Raid Should You Choose First
New players should begin on Dam Battlegrounds to learn raid mechanics, extraction procedures, and basic combat against hostile machines. This map provides consistent loot with manageable risk, allowing you to build a resource foundation without repeated gear losses. Once you accumulate a full tier 2 loadout and comfortable stock of healing items, transition to Spaceport for higher-value technology loot. Experienced players seeking rare equipment and challenging PvPvE encounters should target Buried City last. Resource farming is most efficient on Dam Battlegrounds, while rare item hunting pushes players toward Spaceport and Buried City. Evaluate your current gear level and available consumables before selecting a map.
Preparing Before Entering High-Level Raids
Preparation determines raid success more than combat skill. Before entering Spaceport or Buried City, confirm your weapon damage output, armor durability, consumable count, and extraction route knowledge. Bring at least two stacks of healing items and one breaching tool for locked containers. Memorize at least three extraction points per map because others may camp the obvious exits. Suppressed weapons reduce audio range and delay enemy player detection. Observations from competitive raiders indicate that pre-planned extraction routes increase survival probability by approximately 35 percent compared to improvised escapes. Never enter a high-level raid without a clear exit strategy.
Faster Progress Through Endgame Content
Progression in ARC Raiders requires time investment regardless of skill level. Learning each map's loot spawns, player hotspots, and machine patrol patterns takes dozens of raids. Players with limited playtime often use specialized services to accelerate their progress. ARC Raiders Raid Boost services offer assistance with difficult extractions, rare loot acquisition, and high-tier raid completions. This option suits players who want to skip the early farming phase or access endgame equipment without grinding low-level maps. The choice between manual play and external assistance depends entirely on your available time and personal preference for earning rewards through direct gameplay.
F.A.Q
1. What makes the Dam raid unique compared to other ARC Raiders raids?
The Dam raid is distinguished by its vertical three-tier combat structure and high-density close-quarters engagement zones. Players navigate between the upper generator platform, the mid-level control room, and the lower turbine basin. The primary objective involves disabling coolant pumps located in all three tiers while managing aggressive ARC patrol spawns triggered by each pump deactivation. Environmental hazards, including rising water levels and electrical floor panels, force constant repositioning. The Dam offers a higher concentration of mid-tier loot such as uncommon weapon attachments and armor plates, but fewer high-tier reward caches compared to Spaceport. Completion time averages between 18 and 25 minutes for a coordinated squad.
2. What are the primary objectives and rewards in the Spaceport raid?
The Spaceport raid focuses on terminal access and data extraction. Squads must locate three access keycards scattered across the hangar, launch control, and cargo bay areas. These keycards unlock the central command terminal, which triggers a lockdown sequence. During lockdown, players defend against three waves of increasing difficulty, including elite ARC units and aerial drones. Successful extraction rewards players with high-tier loot: legendary weapon blueprints, rare augmentation modules, and superior armor plating. Spaceport is considered the most difficult raid because of its extended engagement windows and limited cover in the open hangar spaces. Completion time ranges from 25 to 35 minutes.
3. How does the Buried City raid differ in objectives and environment?
The Buried City raid is an underground archaeological site with narrow corridors, collapsed structures, and unstable terrain. Unlike the linear progression of the Dam or the defensive hold of Spaceport, Buried City employs a retrieval-and-escape loop. Squads must collect three artifact fragments from designated excavation points while a persistent toxic gas cloud expands from the entrance inward. The gas damage increases over time, forcing teams to move continuously. Environmental hazards include crumbling floors that drop players into lower chambers and gas vent traps that cause area damage. Rewards focus on scientific equipment: prototype hazard suits, advanced medkits, and energy cell upgrades. Completion time averages 20 to 30 minutes depending on squad navigation efficiency.
4. What is the recommended squad composition for each raid?
For the Dam, a balanced squad of two assault-class operators and one support-class operator is recommended because of the vertical combat requiring both firepower and sustained healing. Spaceport demands a more defensive composition: one engineer for fortifying the terminal area, one assault for wave clearing, and one medic for revive capability during extended lockdowns. Buried City favors mobility and utility: one scout for pathfinding and trap detection, one assault for combat during gas-pressured movement, and one support with gas resistance abilities. In all raids, communication regarding loot distribution and role switching during emergencies is essential.
5. What are the most common mistakes made in the Dam raid?
The most frequent error is failing to clear the turbine basin before disabling the first coolant pump, which allows ARC units to flank the squad from below. Another common mistake is activating all three pumps simultaneously without coordinating a fallback position, resulting in overwhelming enemy density. Players often ignore the rising water indicator, leading to drowning deaths in lower chambers. Loot prioritization errors also occur: many squads waste time securing low-tier loot rooms in the upper tier instead of focusing on the mid-tier armor and weapon caches near the control room that are available after pump activation.
6. How do spawn patterns and enemy types differ across these raids?
In the Dam, enemy spawns are triggered by coolant pump activation, with two waves of standard ARC infantry followed by one elite ARC grenadier. Patrol routes are fixed and predictable, allowing teams to pre-place traps. Spaceport spawns are phase-based: the first wave consists of ARC infantry and shield carriers, the second wave introduces aerial drones, and the third wave includes a heavy ARC enforcer with area-denial weaponry. Spawn locations are randomized across three predetermined entry points to the hangar. Buried City features environmental spawns: ARC units emerge from collapsed wall segments and gas vents rather than doors, making flanking unpredictable. The toxic gas cloud also pushes enemies from behind, forcing squads to fight on two fronts simultaneously.
7. What loot strategies maximize efficiency in the Buried City raid?
Loot efficiency in Buried City depends on route planning. The first artifact fragment should be retrieved from the nearest excavation point while quickly scanning adjacent rooms for gas vent traps and medkits. Players should prioritize securing a gas mask upgrade before the second fragment, as the toxic cloud intensifies after ten minutes. Rare artifact fragments yield the highest reward value, but common fragments offer consistent extraction points without triggering additional enemy spawns. Teams should avoid opening locked storage containers unless they have sufficient medkits, as the alarm triggers a three-minute ambush wave. Optimal loadout includes weapons with medium range and fast reload, as tight corridors restrict long-range engagement.
8. What is the extraction procedure for each raid, and how does it fail?
In the Dam, extraction requires activating the escape elevator in the control room after all coolant pumps are disabled. The lift has a thirty-second delay, during which a final ARC wave spawns. Extraction fails if the elevator is destroyed by grenadier attacks or if two squad members are downed before the lift departs. Spaceport extraction involves returning to the landing pad and calling a dropship. The dropship takes sixty seconds to arrive, and a continuous enemy assault occurs during that window. Extraction fails if the squad abandons the pad area or if the terminal is destroyed during lockdown. Buried City extraction requires reaching the surface elevator before the toxic gas fills the final chamber. Extraction fails if the gas kills all squad members or if the elevator power cell is damaged by gunfire during the ascent.
9. How should players prepare loadouts before entering each raid?
For the Dam, bring weapons with high magazine capacity for sustained fire during pump activations, at least four medkits for vertical fall damage, and a shock-resistant armor module. For Spaceport, prioritize weapons with medium to long range to counter aerial drone threats, bring at least three shield batteries for the lockdown phase, and equip a damage reduction module for the enforcer wave. For Buried City, bring a gas mask upgrade, weapons with fast handling for tight corridors, and at least five medkits to offset environmental gas damage. Universal preparation includes carrying a repair tool for armor, a utility pouch for extra ammunition, and a tactical insert for rapid respawn coordination.